If a user accesses the same share frequently from Windows, it will be convenient to map the share as a Network Drive. Once done, the Share appears as a Drive in user Desktop whenever the user logs into the Desktop. A share can be mapped onto a Drive as follows:
- Double click on My Network Places icon to open up the network.

- That will open up a Window. Follow the procedure in the previous section to reach the share that we want to map.
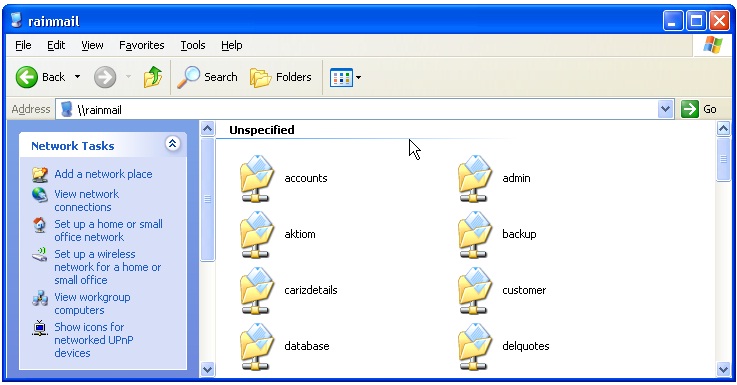
- Right click on the share to be mapped. That will bring up the following menu
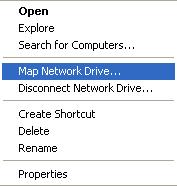
- Click on Map Network Drive.... That will bring up the following dialog
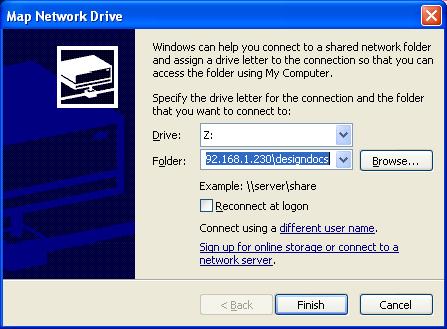
- To make the Mapping permanent, check Reconnect at logon button in above dialog. Click on Finish.
- User can now access the specified share by simply going to the mapped drive in My Computer (as shown below)

- Double click on the drive name and transfer files using Standard Windows file operations.


