In this section, the steps for configuring Windows XP to dial-in to a corporate network is given.
- Double click on the My Network Places icon on your Desktop.

- On the left hand side of the window that comes up, you will see the option to Create a new connection (as shown below).
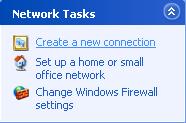
- Click on Create a new connection. That will bring up the following dialog.
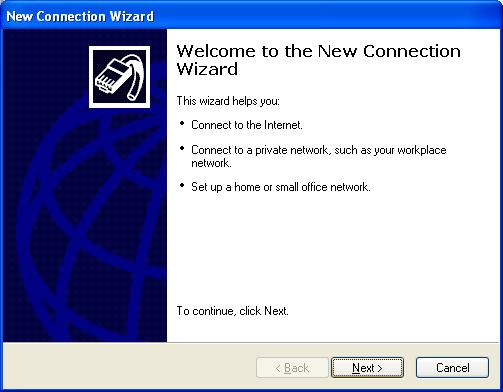
- Click on Next >. That will bring up the following window.
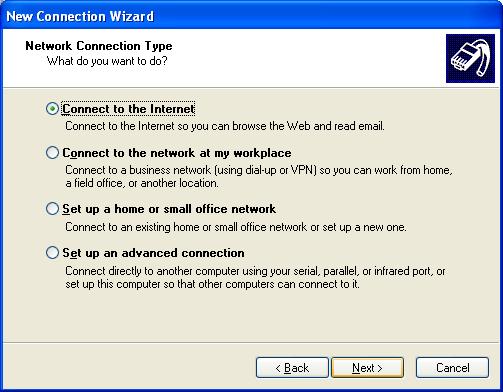
- Select Connect to the Internet and click on Next >. That will bring up the following window.

- Select Set up my connection manually and click on Next >.
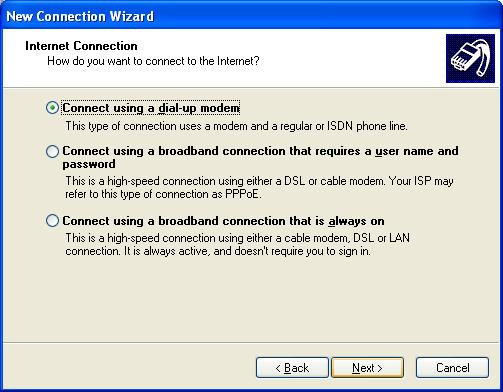
- Select Connect using a dial-up modem and click on Next >. That will bring up the following window.
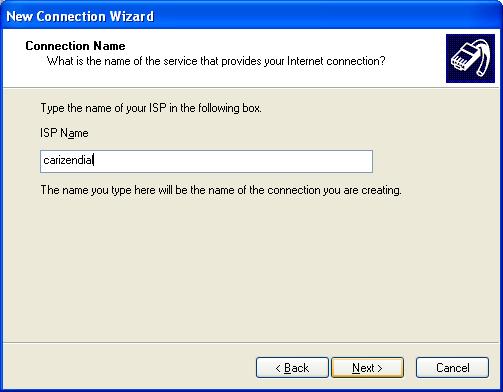
- Specify a name for the connection in the ISP Name field and click on Next >. That will bring up the following window.
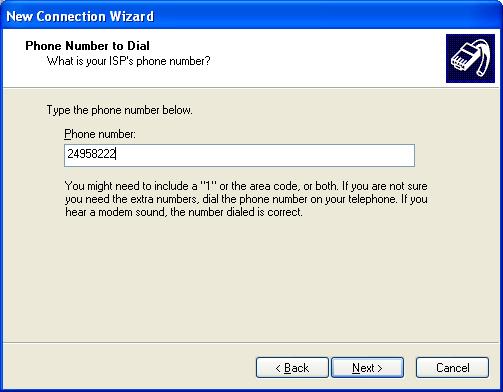
- Enter the phone number provided by Rainmail Administrator in the Phone number: field. Click on Next >. That will bring up the following dialog.
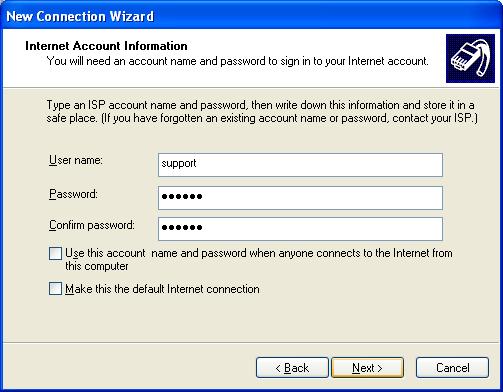
- Enter the Rainmail Account name in User name: field and Rainmail account password in the Password: as well as Confirm password: fields. Click on Next >. That will bring up the following dialog.

- Check the box next to Add a shortcut to this connection to my desktop and click on Finish. That will create the connection, and place a shortcut on the desktop. Connection can be established by activating the icon on the desktop.


