This section provides the steps to configure Automatic Proxy Settings in Google Chrome. Google Chrome 30.0 running on a Windows 8 system is used to provide instructions.
- Start Google Chrome by selecting Start --> All Programs --> Google Chrome -> Google Chrome from Windows
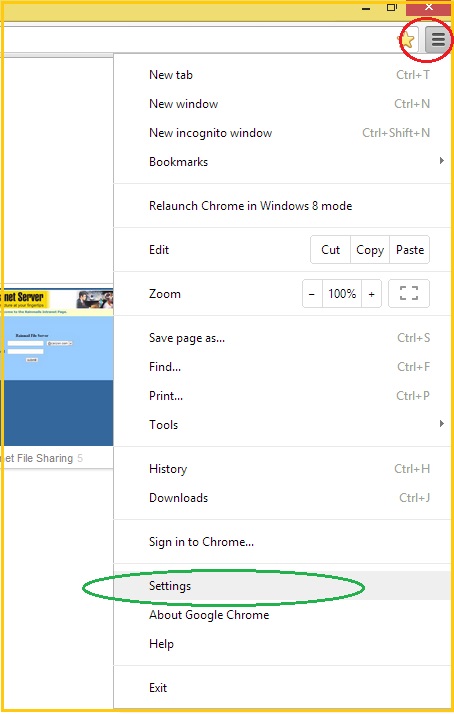
- Google Chrome browser opens. Select Customize and Control Google Chrome (indicated by the red oval) -->Settings (indicated by the green oval)
- The Settings page appears. Scroll down and click on Show Advanced Settings (indicated by the red oval)

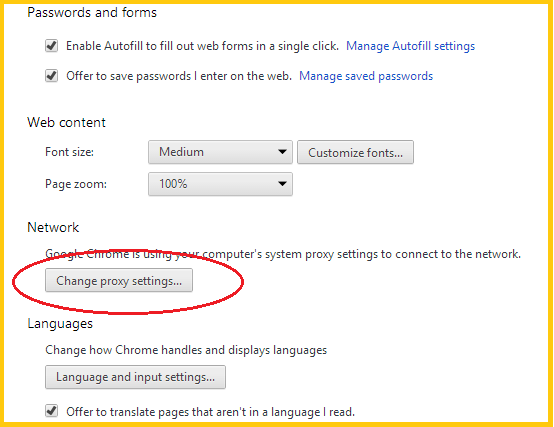
- The following content appears. Click on Change Proxy Settings (indicated by the red oval)
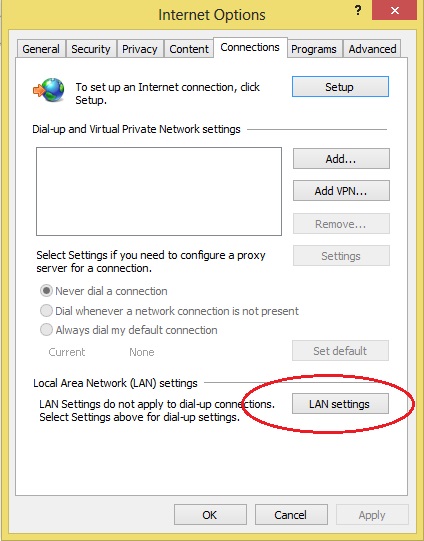
- The Internet Options dialog appears. Click on LAN settings button (indicated by the red oval)
- The Local Area Network (LAN) Settings dialog appears. Check the check box next to Automatically detect settings (indicated by the red oval)
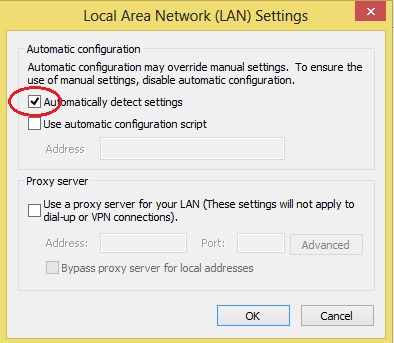
- Click on OK and close all the dialogs.
- Close and reopen Google Chrome browser
- Google Chrome is now configured to automatically detect Rainmail Server as proxy server and use the same for browsing


