When giving a presentation or a Webinar, users can share their screen with participants. This is especially useful when doing a walk through demonstration. By default, only owner of the room has permissions to share her screen. Invited users who come into the Conference room are not allowed to share their screen. An authorized user can share her screen as follows:
- Ensure that the browser has JAVA plugin installed. If not, the same can be downloaded from
 JAVA Plugin Download page and installed.
- Please note that a browser restart will be required after installing JAVA Plugin
- Login to Rainmail Conference.

- Click on Share/Record Screen icon (indicated by Red Oval).
- The browser will download a JNLP file.
- If the browser does not automatically run the file, you can execute the file.
- The desktop sharing application will be downloaded and information given as follows
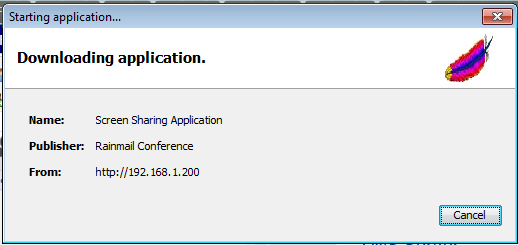
- Once downloaded, browser will ask for permission to run the application as follows
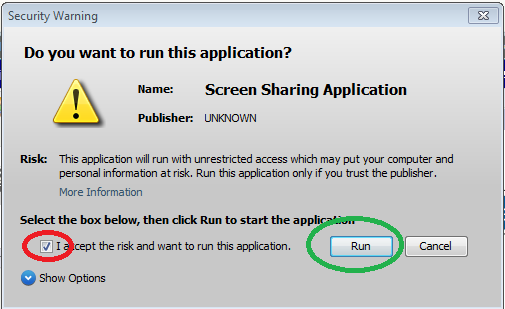
- Click on the I accept the risk and want to tun this application check box (indicated by Red Oval) and select the option.
- Click on Run (indicated by Green oval) to execute the application. That will bring up the following screen
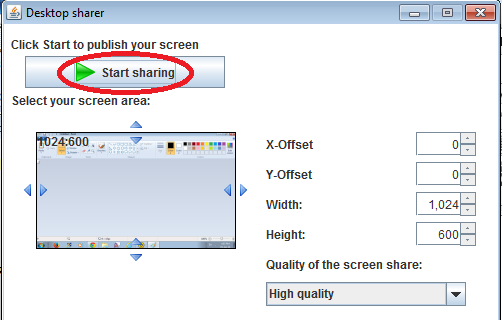
- To share your desktop with other users' click on the Start Sharing button (indicated by Red Oval).
- This will start the process of sharing the desktop with other users. The Share screen dialog will appear as follows:
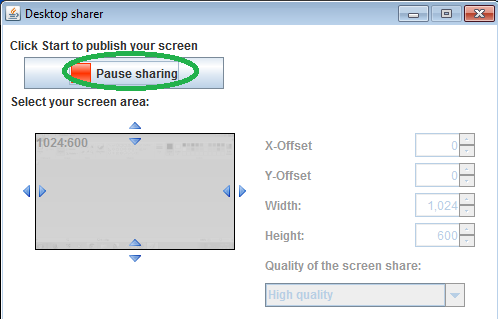
- Once desktop is shared all the other users' will get a notification as follows:
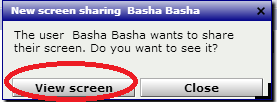
- Once users click on View Screen (indicated by Red Oval above), they will see the shared screen as follows:
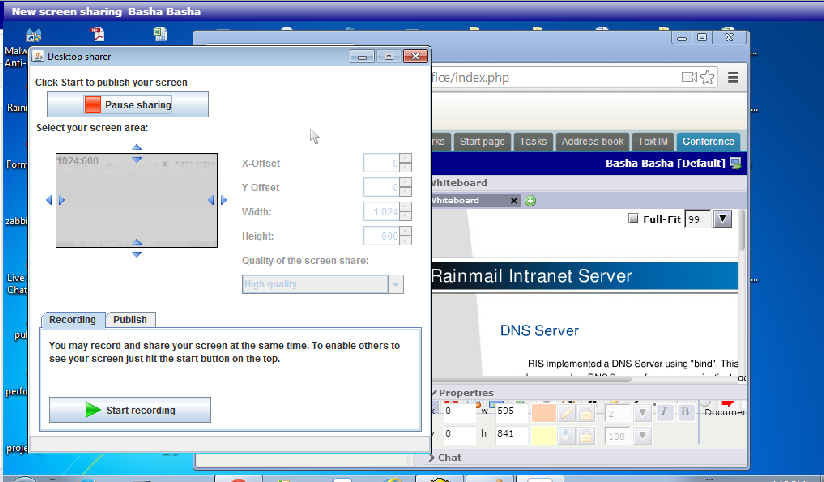
- The user who started the Screen sharing can stop the same by clicking on the Pause Sharing button.
 JAVA Plugin Download page and installed.


