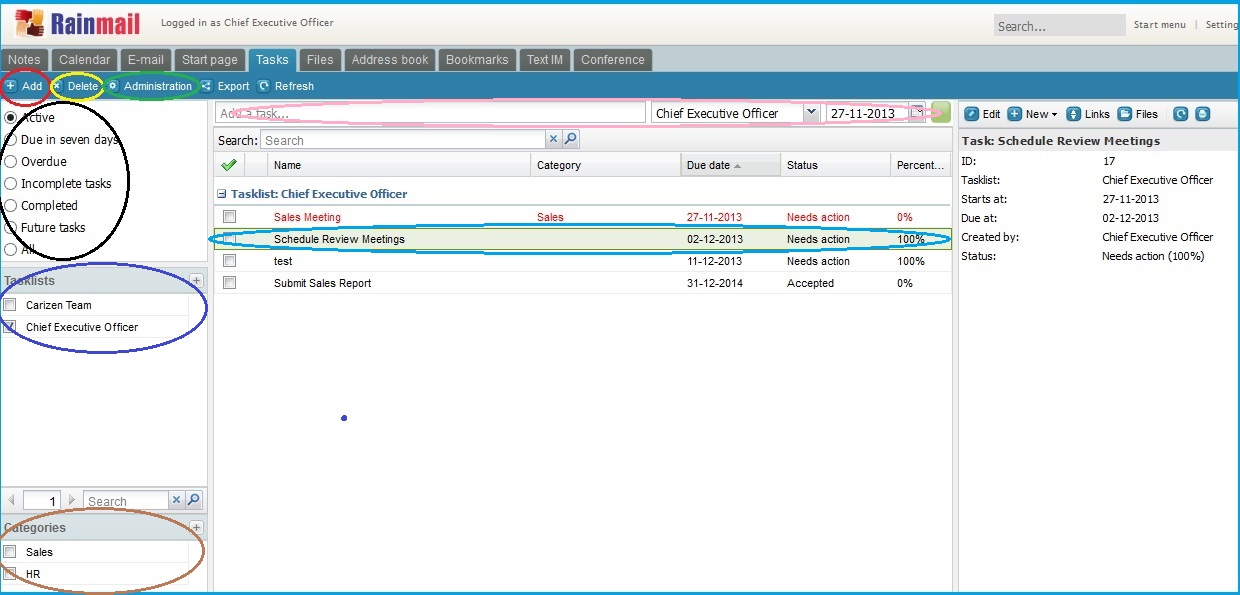
When a user clicks on the Tasks tab to access Rainmail's Tasks module, the following screen appears.

The table below provides details of the features available in the Tasks module.
|
Sl. No. |
Indicated by |
Feature |
Detailed Description |
|
1 |
Red Oval |
Add task |
The Add button is used to create a new task. For detailed instructions to create a task refer to Create Task |
|
2 |
Yellow Oval |
Delete task |
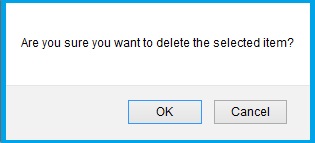
To delete a task:

|
|
3 |
Green Oval |
Administration |
Click on Administration to grant permissions to other users or groups, import and export Task lists. For detailed instructions refer to Export and Import Tasklist, Share Tasklist |
|
4 |
Black Oval |
View Tasks |
Rainmail, by default displays all Active tasks of the user. Users can choose to view tasks that are Due in seven days, Overdue, Incomplete tasks, Completed tasks, Future Tasks, or All tasks by clicking on the corresponding radio button. |
|
5 |
Pink Oval |
Quick Add bar |
Users can quickly create a new task using this tool. Refer to section on Create Task for detailed instructions |
|
6 |
Blue Oval |
Task name |
|
|
7 |
Brown Oval |
Categories |
The list of user defined categories is displayed here. Users can define/create categories to classify and store tasks.
|
|
8 |
Indigo Oval |
Tasklists |
All the usernames who's Tasklist you have permission to access are displayed here. Check the check box against the Username to view the Tasklist of that user. Checking multiple boxes displays the Tasklists of the selected users |
|
Copyright (c) 1999-2014. Carizen Software (P) Ltd. All rights reserved.
|
|
What do you think about this topic? Send feedback!
|