Once downloaded, the Pidgin chat client can be installed by running the Installer.
- Double click on the Installer to run. The following screen appears:
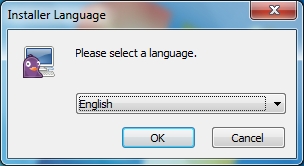
- Click on OK. That will bring up the following dialog
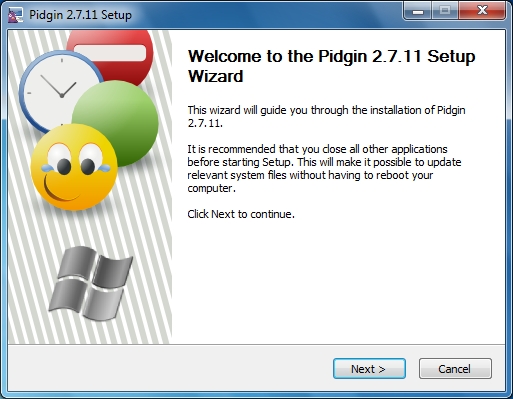
- Click on Next >. That will bring up the following dialog.

- Click on Next >. That will bring up the following dialog.

- Select the boxes checked above (indicated by the red oval) and click on Next > button.
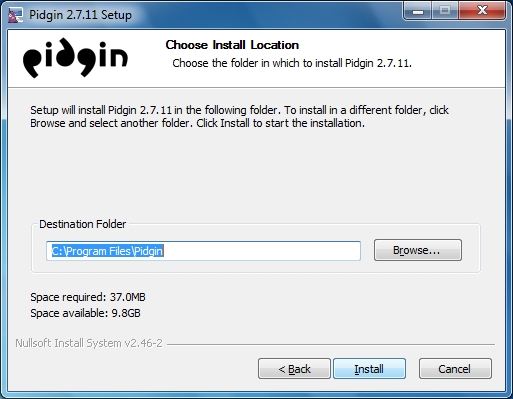
- Click on Install to proceed with the installation.
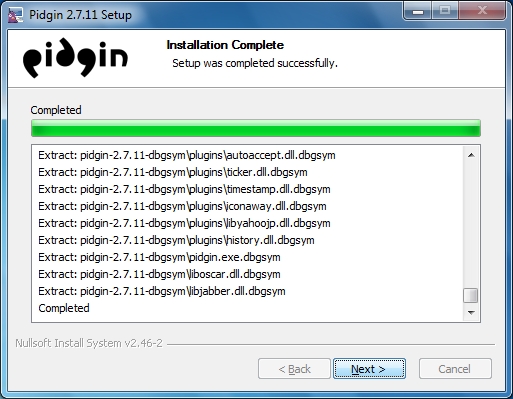
- Once the files have been copied, click on Next > to proceed.
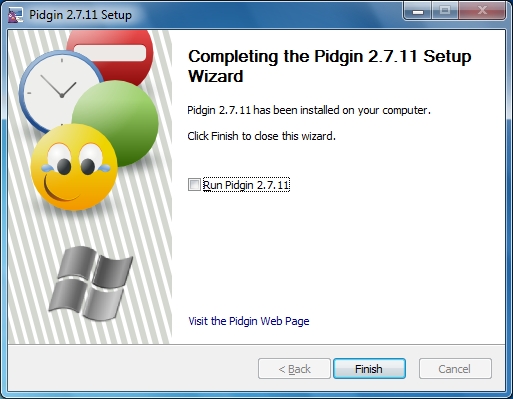
- The above dialog is displayed when installation is complete. The chat client is now installed and ready for configuration.


