First step in Installation process is to install the supplied Enterprise Linux Operating system. The supplied DVD has Cent OS (as on date Version 5.10) and is a bootable DVD. Installation from the DVD can be done as follows:
- Insert the supplied Cent OS DVD into the DVD drive in Server. The system will boot up and bring up the following screen:

- Press Enter to proceed. That will bring up the following screen.
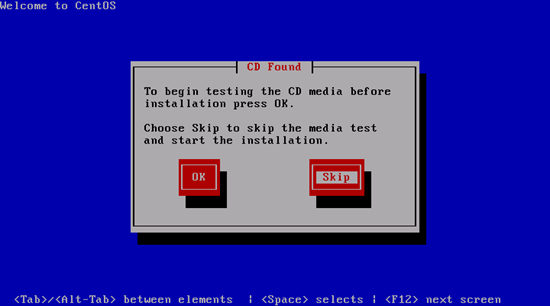
- Choose Skip and move on. That will bring up the following screen:
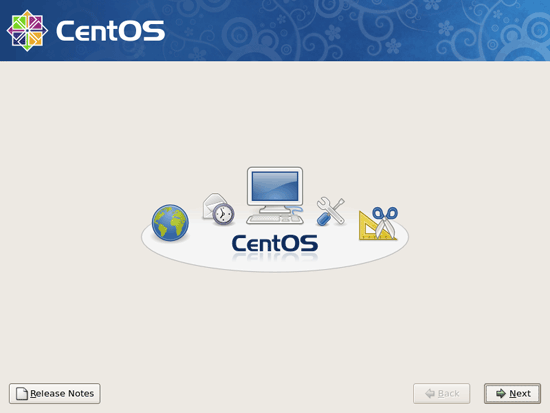
- Click on Next to proceed. That will bring up the following:
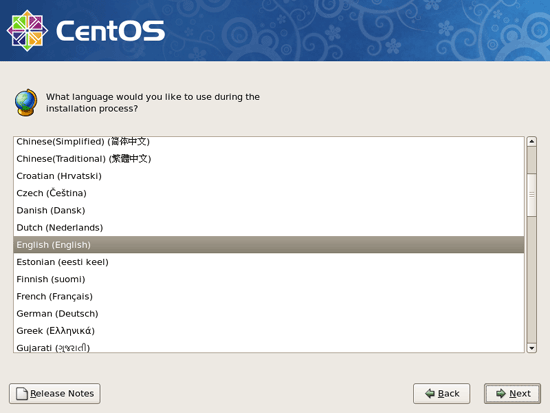
- Choose English language and click on Next. That will bring up the following screen:
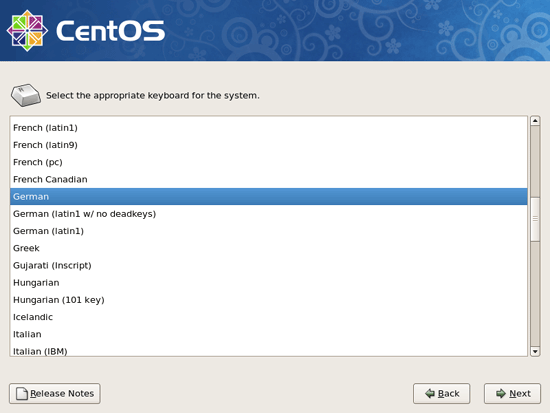
- Select English and click on Next. That will bring up the following dialog (if the old partition is non-readable):
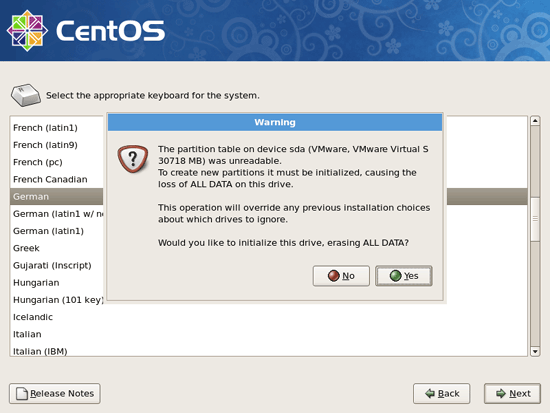
- Click on Yes and then on Next. That will bring up the following:
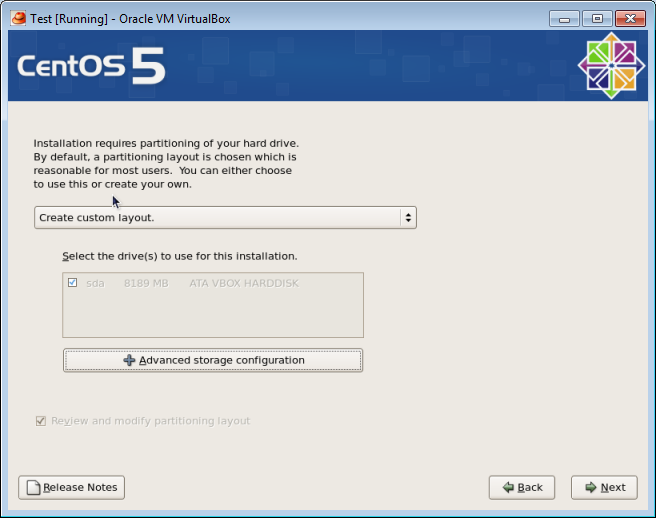
- In above Window, select Create custom layout. Click on Next to bring up the following screen.
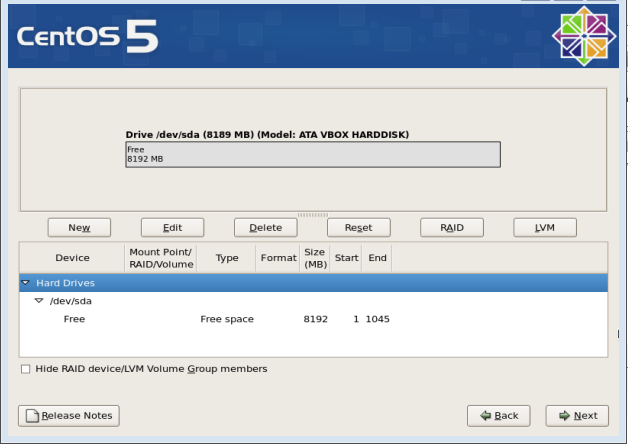
- We need to create the partitions as given in the following table:
|
Mount point |
Suggested Size |
|
/ |
40% of Hard disk space subject to a Minimum of 40GB |
|
/boot |
100MB |
|
Swap space |
Twice the amount of Memory available in system. |
|
/home |
Rest of free space available |
- Create new partitions as follows:
- Click on the Free line in above dialog.
- Click on New button. That will bring up the following dialog
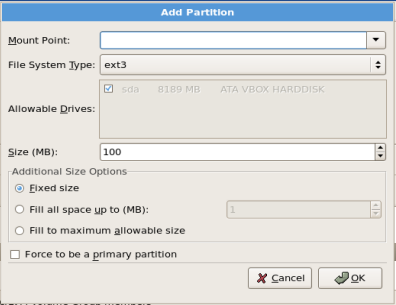
- In the Mount Point edit box, enter directory of partition to be created (e.g., /home)
- To create a Swap partition, select swap from the File System Type list box.
- In the Size (MB) edit box, enter the size of the partition to be created. To use up all available rest of free space, select Fill to maximum allowable size.
- Click on OK.
- After creating the partitions, the partition table should look like the following:
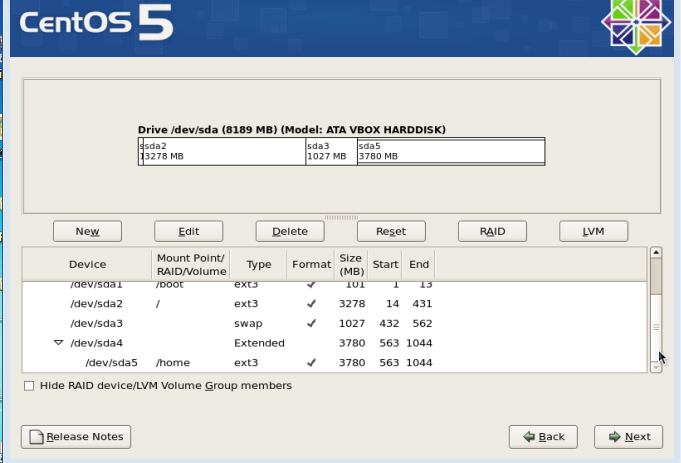
- Click on Next to continue. That will bring up the following Window:
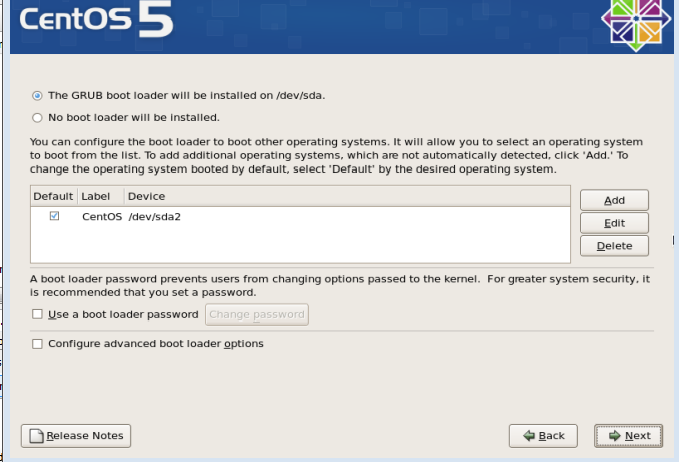
- Click on Next to get the following screen:
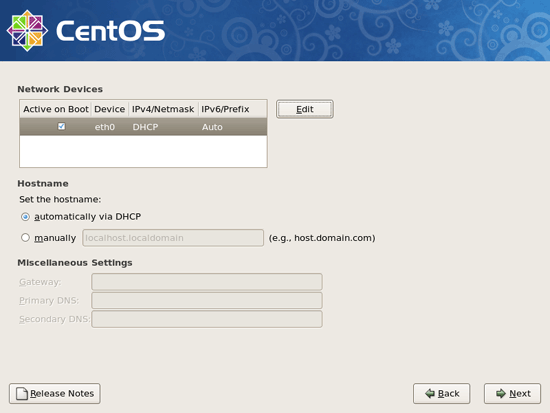
- For all interfaces detected (there must be at least two of them), click on Edit and specify a Private IP address in your LAN range. This IP address must not be assigned to any other machine in the Network.
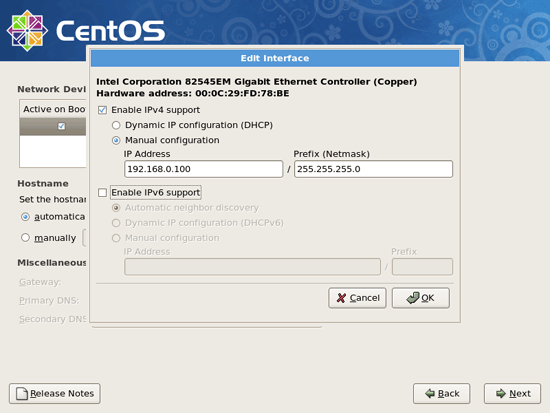
- Click on Manual Configuration Radio button.
- Specify IP address in IP Address edit field.
- Specify the Network mask in Prefix (Netmask) edit field.
- Cick on OK.
- Specify Host name by clicking on manually Radio button and set a fully qualified host name (including domain name) for the server.
- Specify Gateway IP address in Gateway: field. If Rainmail Server is to be deployed in Gateway mode, this field can be ignored.
- Specify the Primary DNS Server as 8.8.8.8 in the Primary DNS: edit field.
- Specify the Secondary DNS Server as 8.8.4.4 in the Secondary DNS: edit field.
- Now the screen will look like the following:
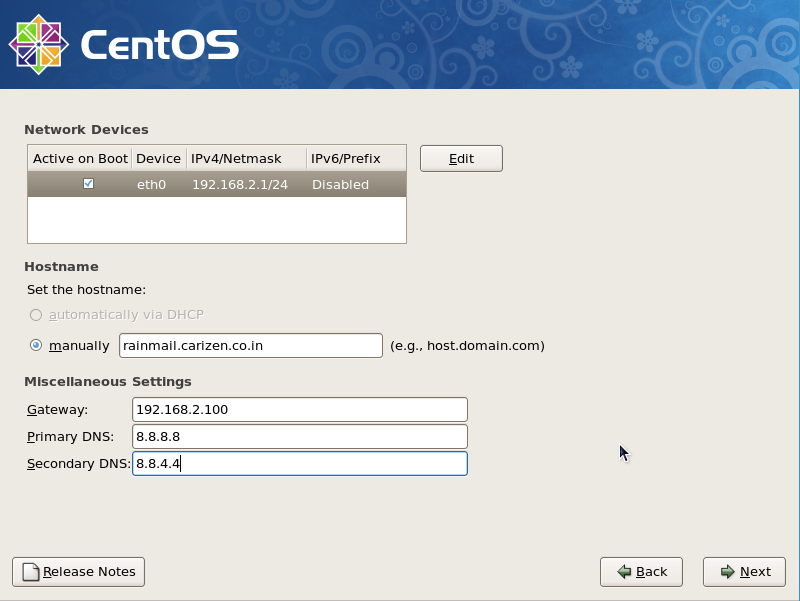
- Click on Next. That will bring up the following screen:
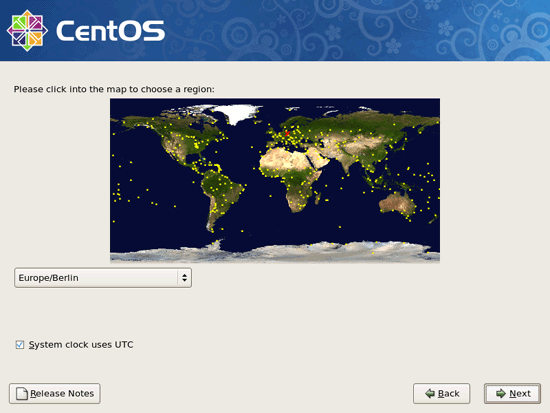
- Select the time zone (India is represented by Asia/Kolkatta) and click on Next. It will bring up the following screen.
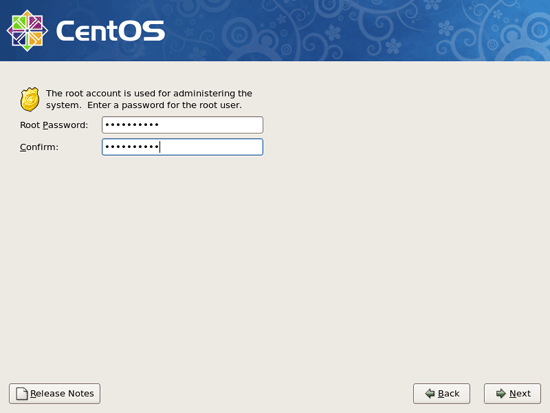
- Specify the root password and click on Next. That will bring up the following:
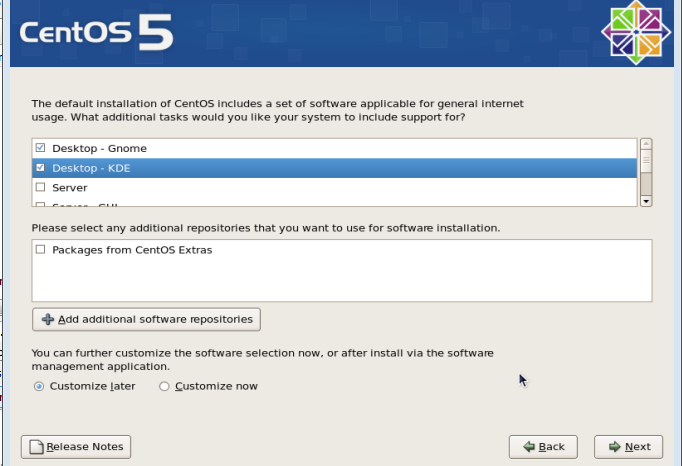
- In addition to whatever is selected by default, check Desktop - KDE box.
- Click on Next. That will bring up the following screen
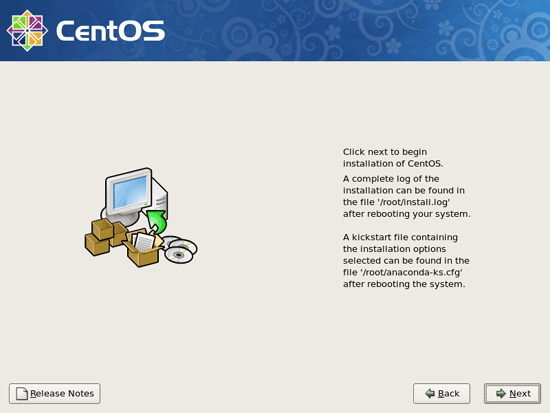
- Click on Next to start the installation. When the installation is complete, following screen will be displayed.
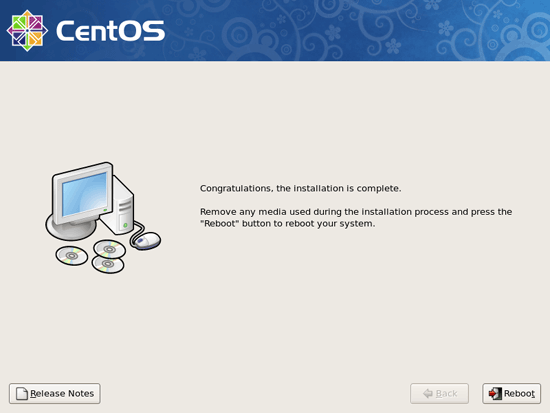
- Click on Reboot button. The system will reboot and on rebooting will present the following screen
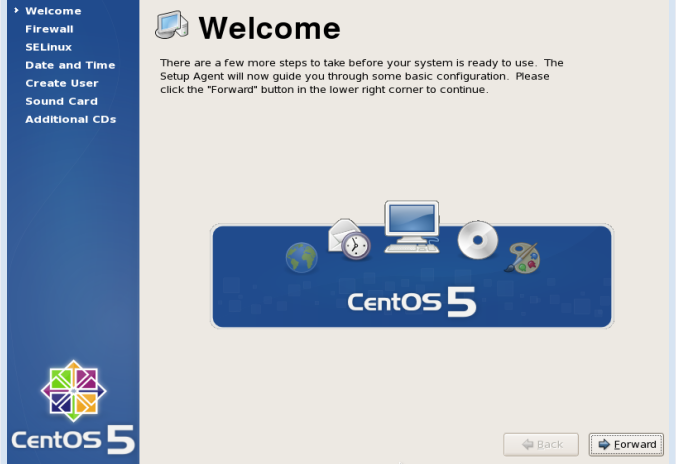
- Click on Forward button. That will bring up the following screen
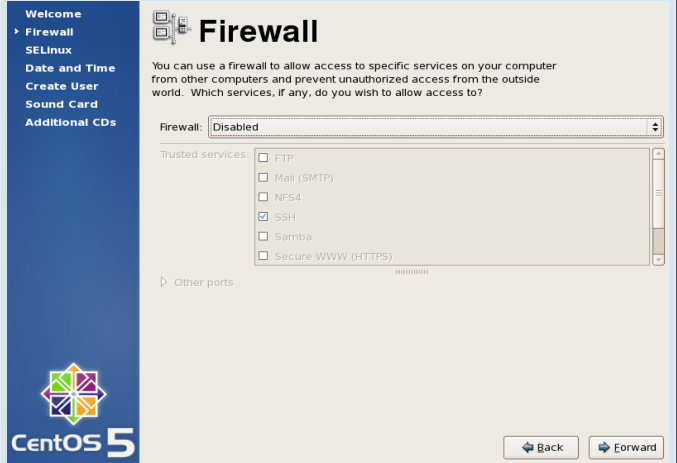
- Select Disabled from Firewall list box.
- Click on Forward button.
- In the dialog that comes up, click Yes. That will bring up the following:
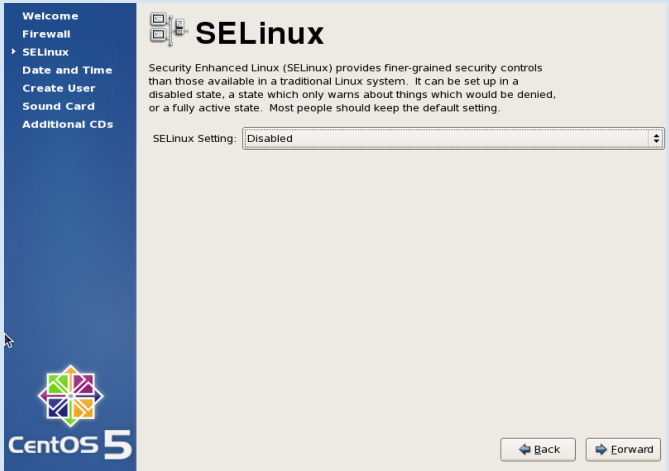
- Select Disabled from the SELinux Setting list box.
- Click on Forward button.
- Click Yes in the dialog that comes up. That will bring up the following:
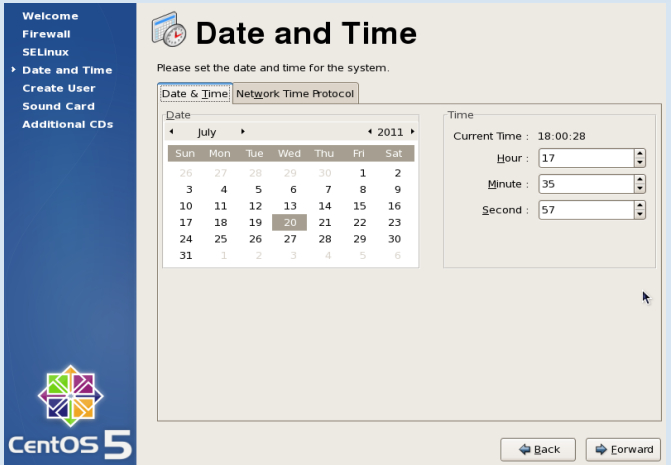
- Click on Forward to proceed. That will bring up the following
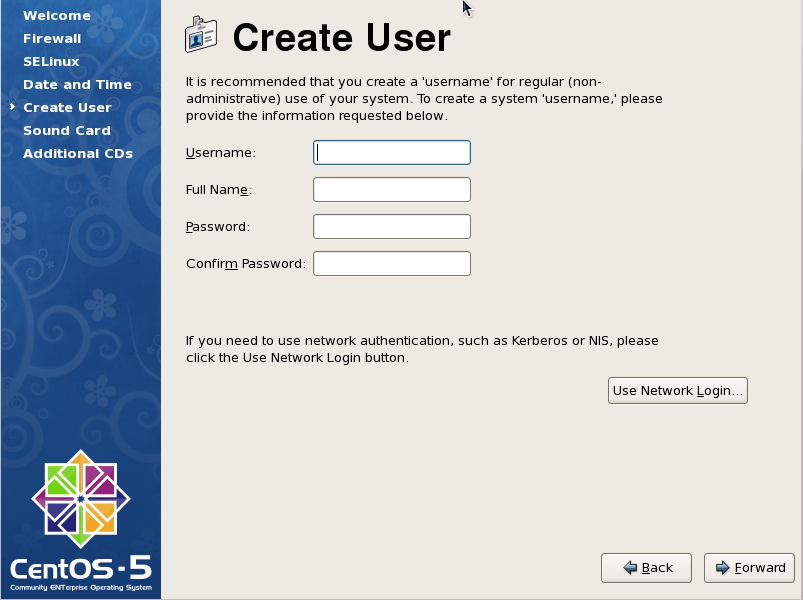
- In the Create User Window that comes up, do not enter any details and click on Forward to proceed. That will bring up the following dialog
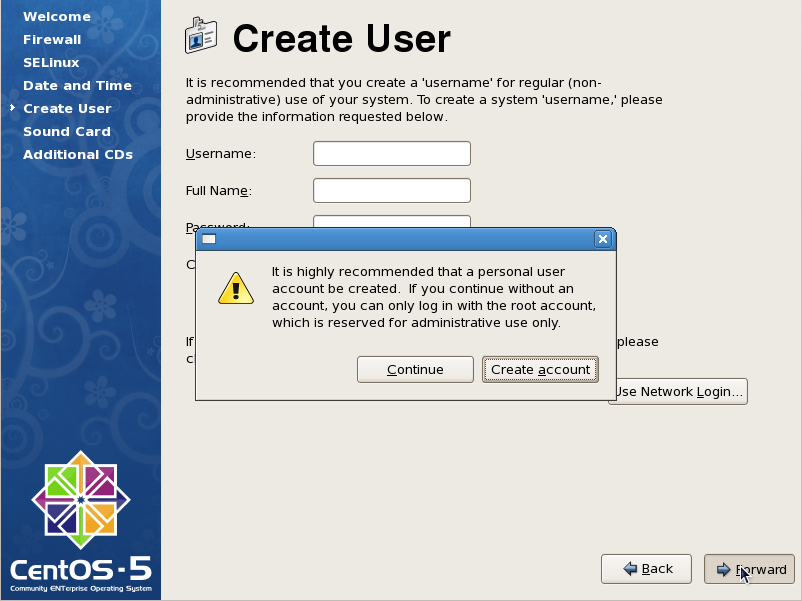
- In the dialog that comes up, click on Continue button. That will bring up the following screen
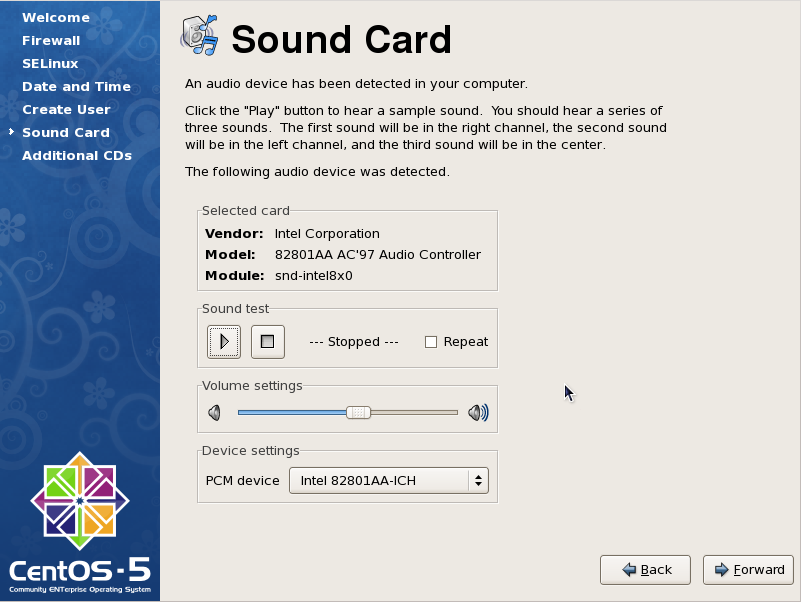
- In the Sound Card Window that comes up, click on Forward button. That will bring up the following screen:
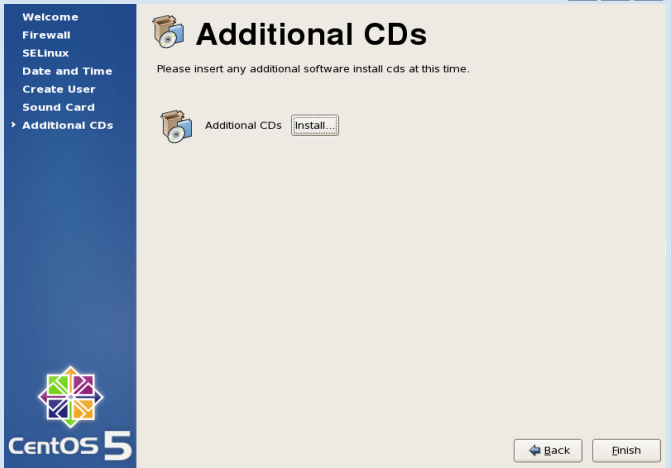
- Click on Finish to continue.
- In the dialog that comes up, click on OK. That will reboot the system. This completes the Installation of Operating System.


